Deploying a static site manually every time can be a boring and error-prone task. If you’re using Hugo, a static site generator, and host your site with a provider like Hostinger, you might be used to generating the site with hugo and dragging the contents of the public/ folder into a file manager or FTP client.
Let’s change that.
In this guide, I’ll show you how to automate this process using GitHub Actions. Every time you push to your main branch, your site will be automatically built and uploaded to your server via FTP.
What You Need
- A Hugo project
- GitHub repository
- FTP access to your server (e.g. Hostinger)
- GitHub Actions enabled
Initialize a GitHub Repository
Create a new GitHub repository and push your Hugo project to it.
Make sure to exclude the /public folder from version control. Create a .gitignore file with this content:
| |
Add GitHub Secrets
Go to your GitHub repository:
Settings → Secrets and variables → Actions → New repository secret
Add the following secrets related to your FTP connection:
| Secret Name | Description | Example |
|---|---|---|
FTP_SERVER | Your FTP server address | ftp.yourhost.com |
FTP_USERNAME | Your FTP username | user123 |
FTP_PASSWORD | Your FTP password | yourpassword |
FTP_PORT | FTP port (optional, default 21) | 21 |
FTP_REMOTE_PATH | Remote path to upload files | /public_html/your-site/ |
You can find these credentials in your hosting control panel (Hostinger: Hosting → FTP Accounts).
Create GitHub Action Workflow
Create a new workflow file in your Hugo project:
| |
Then, open the deploy.yml file and paste the following configuration:
| |
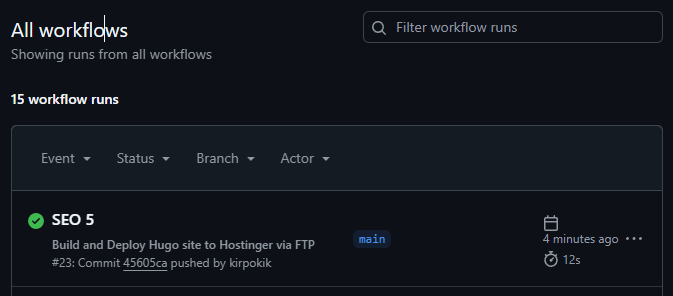
✅ Now, whenever you push changes to the
mainbranch, GitHub will build your site and upload it to your server via FTP — fully automated.
Update and Deploy with One Command
Any time you update your site locally — whether it’s fixing a typo or publishing a new post — just run:
| |
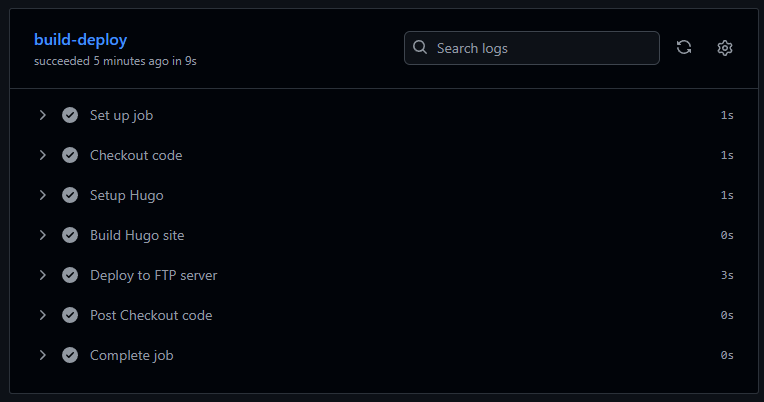
GitHub will take care of the rest: build, FTP upload, and you’re live.
Conclusion
The deployment process usually takes just a couple of minutes. Any changes you make locally — whether editing code or adding a new post — will automatically be uploaded after running a single command. It’s fast and convenient.
Another benefit is that your website’s source code is safely stored on GitHub. If your computer crashes or you need to recover your project, everything is backed up and easily accessible.
This setup is ideal if you’re hosting your site on Hostinger or a similar provider. If you’re using Vercel, the process is different — Vercel handles deployments automatically without any extra configuration. I’ll cover the full migration from Hostinger to Vercel in my next article. And the main reason for switching? Cost. While Hostinger’s most basic plan costs around €4–5 per month, Vercel is completely free and perfectly suited for small projects like a personal blog, portfolio, or simple landing page.